
12 Oct Uploading images
In all modules in the online Hasmate program, there is the ability to upload related images, e.g. against an asset, an employee, a hazard, etc.
How to upload an image…
There is no limit to the size or file-type of image that can be uploaded to the Hasmate program. Suggested file types are .jpg, .jpeg, .gif, or .png.
Some suggestions of what you might add are:
- A photo of an employee;
- A scan of an employee’s drivers licence;
- A photo of equipment/machinery/vehicle/etc for identification/insurance purposes; or
- A photo of where a particular chemical is stored and/or what the chemical looks like.
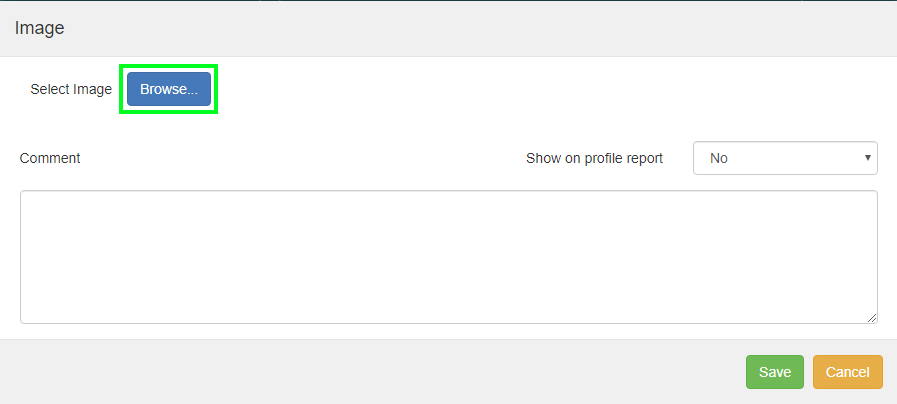
To upload an image, you need to already be working on an asset, employee, hazard, etc. Scroll down to the “Images” section, and click the “Add Image” button on the right hand side.

In the pop-up box, click “Browse” beside “Select Image“. This will take you to your computer files for you to find an image to upload.
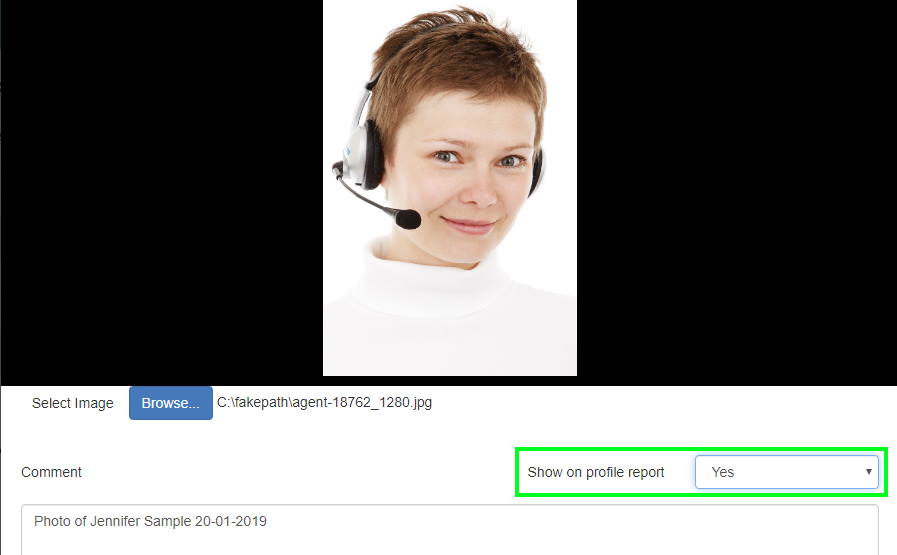
Find the image you want to upload, click on it, then click “Open” at the bottom of the pop-up.

You’ll now see the image you’ve chosen to upload. You now have the option to make the image show on the printable profile, by choosing “Yes” from the “Show on profile report” dropdown. If you choose “Yes“, the image will appear on the Hasmate program when you are viewing the asset, employee, hazard, etc – and also when you print the profile. If you choose “No“, the image will appear on the Hasmate program when you are viewing the asset, employee, hazard, etc – but won’t show on the printable profile.
This is useful for identification purposes, or an image that you may need urgently, e.g. a scanned image of a drivers licence or another training certificate.
NOTE – the printable profile will grow in length depending on how many images you choose to show on the profile – for this reason, we don’t recommend all images showing on the profile.
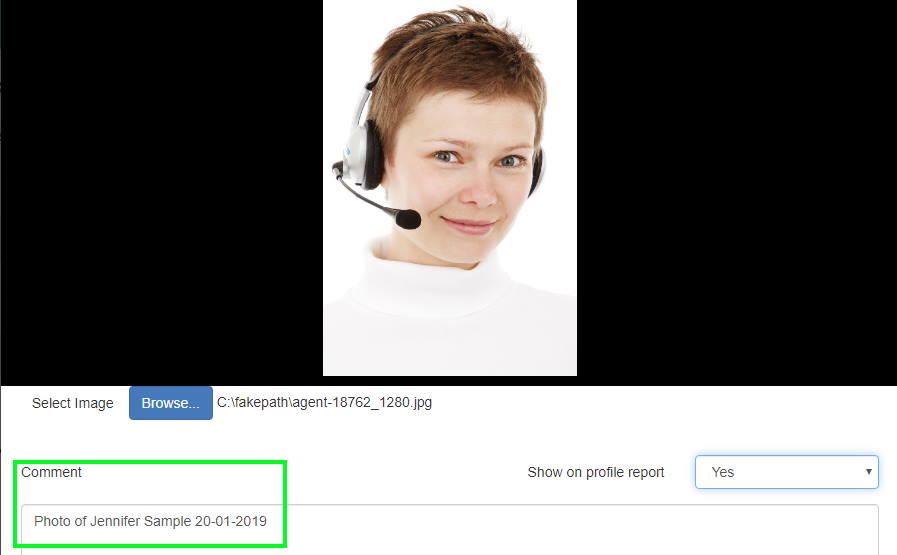
The “Comment” box is the text that will show beside the image on the asset/employee/hazard page, and on the printable profile (if you have chosen the image to show on the printable profile). For this reason, make sure the comments are useful – e.g. it might be the date that you uploaded the image, and a description of what the image shows.
Once you’ve completed this, click the “Save” button at the bottom of the pop-up box.

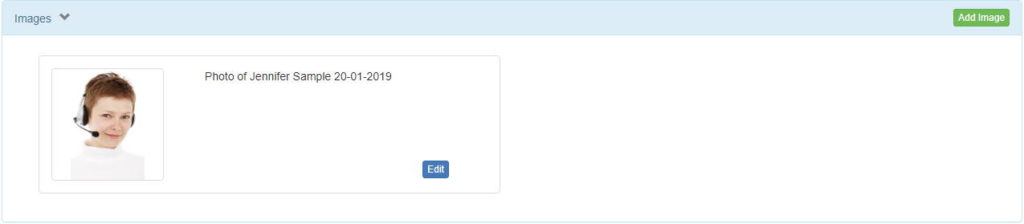
You’ll now see the image in the “Images” section. You can now add more images by clicking on the “Add Image” button again.
NOTE – to remove an image, click the “Edit” button beside the image. The pop-up box will appear again, but will also show a “Delete” button. Click “Delete” and a confirmation box will appear, confirming that you want to delete the image. Click “Yes“, and the image will be removed.
You can also use the “Edit” button to change the comments on the image, and/or change whether the image should appear on the profile report. Make sure to click “Save” if you make any changes.
vc_separator type=’normal’ position=’left’ color=” thickness=” up=” down=’60’]
If you have further questions or require training, please contact Hasmate.